
Capri GTXLR body restoration
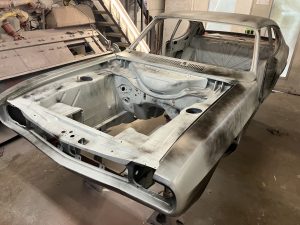
Arriving already stripped and media blasted first priority is to get the shell cleaned and zinc coated to protect the bare steel.
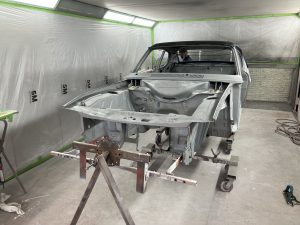
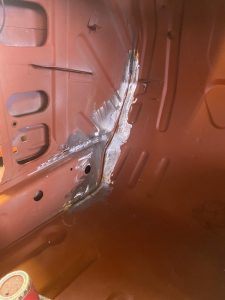
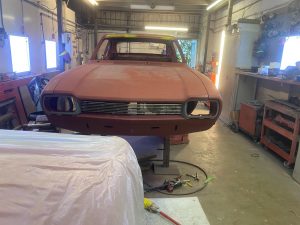
Despite being in good shape for a 1972 Capri corrosion has set in a few of the usual areas

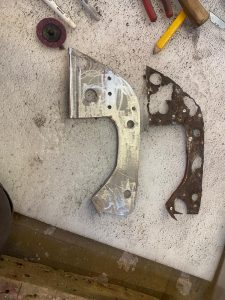
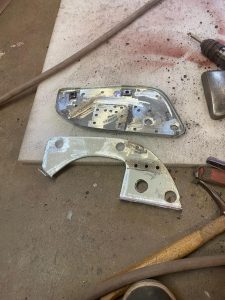
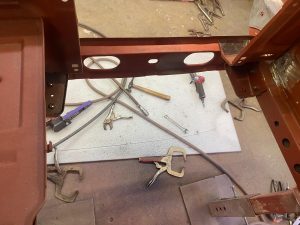
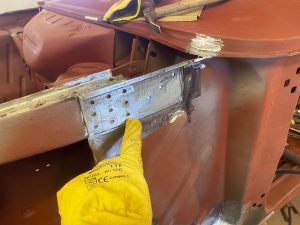
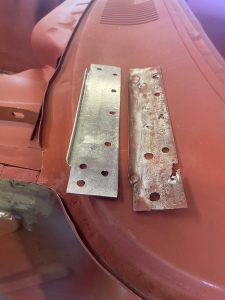
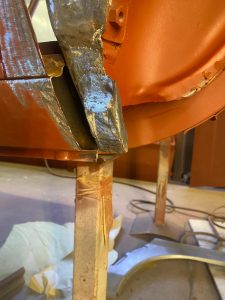
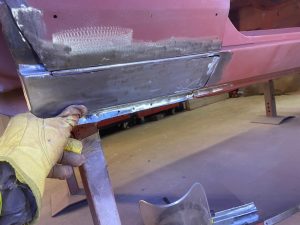
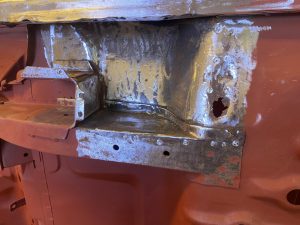
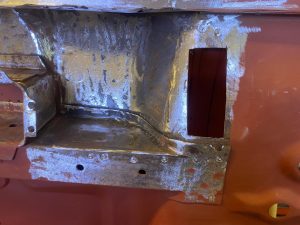
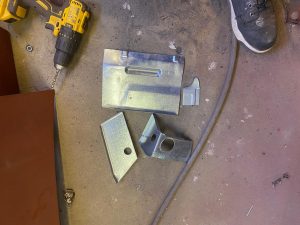
With some fresh steel in place the reinforcer can be replaced

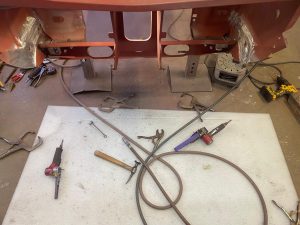
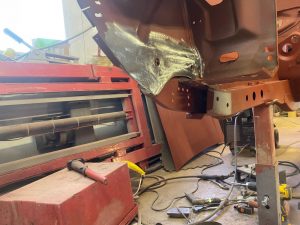
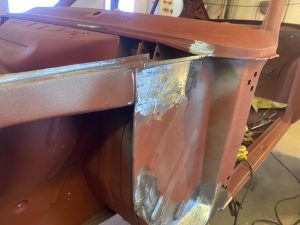
With both inner wings repaired and the reinforcers replaced the new crossmember sections can be lined up and welded in place

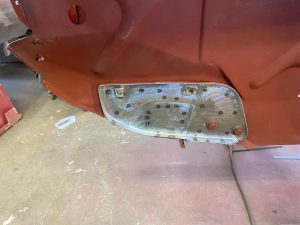
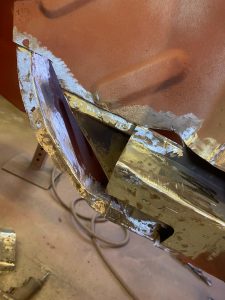
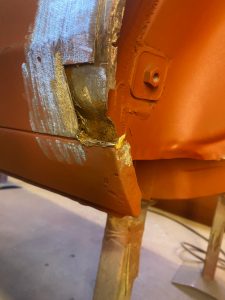
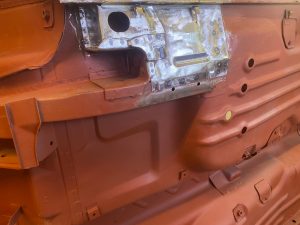
The usual A post corrosion

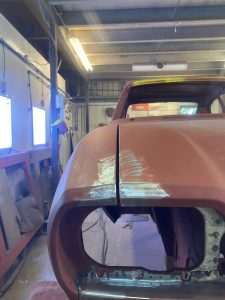
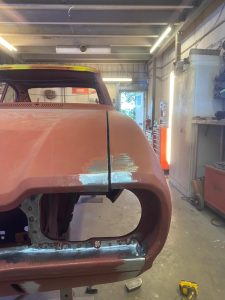
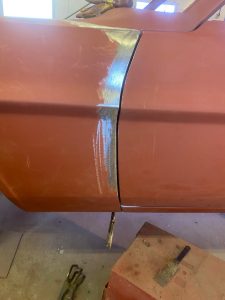
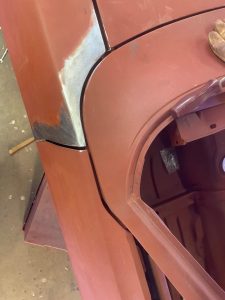
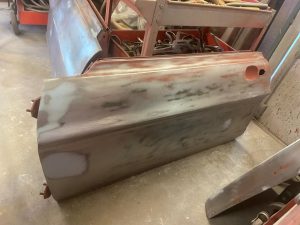
Supplied with a selection of panels and a pair of ex-pressed steel wings and front panel which are good but still need fettling to achieve perfect 5mm gaps .

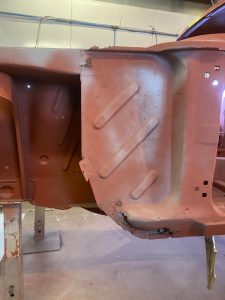
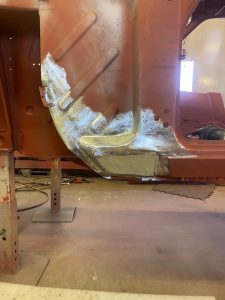
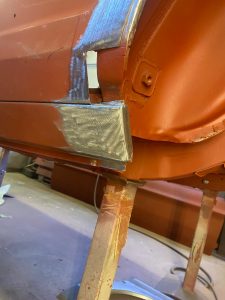
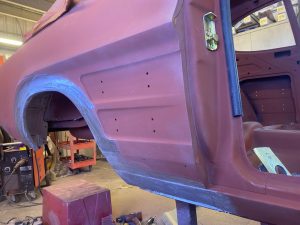
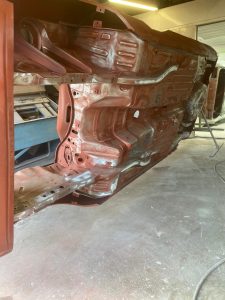
Just a small amount of corrosion on the sill end and arch lip so we only replaced the minimum needed.
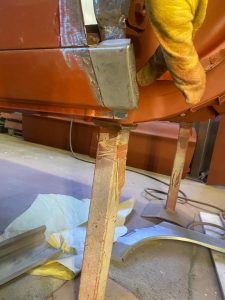

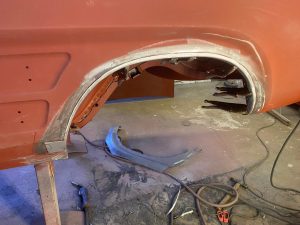
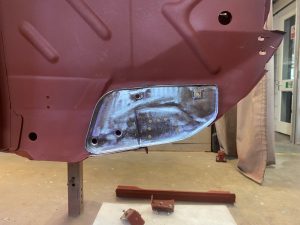
The O/S was in a similar condition.
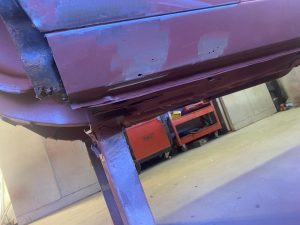
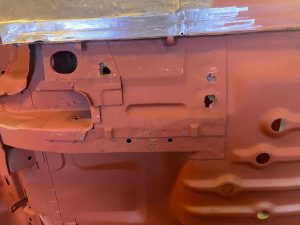
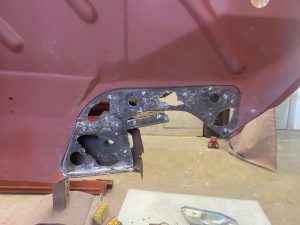
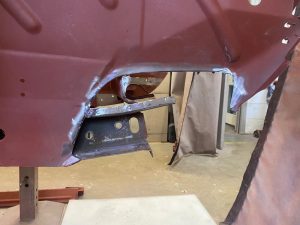
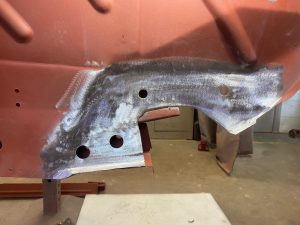
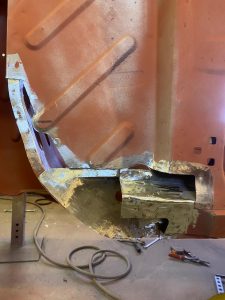
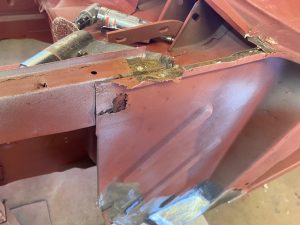
The O/S spring mount as usual has seen better days so most of the sections will have to be replaced .

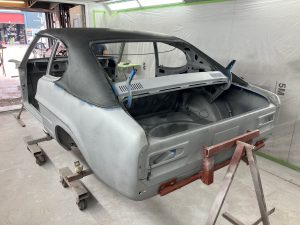
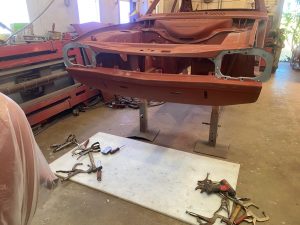
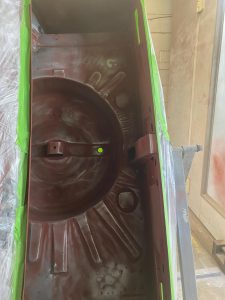
With all the fabrication completed we move on to preparing the shell and panels
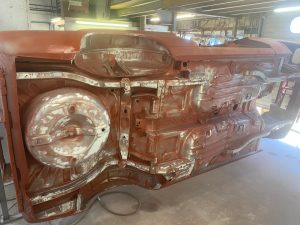
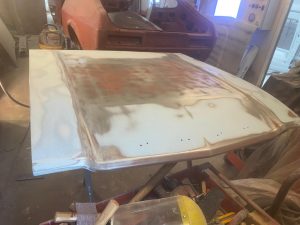
Despite being in relatively good shape corrosion wise for a Mk1 the panel work has its fair share of dents and distortions.
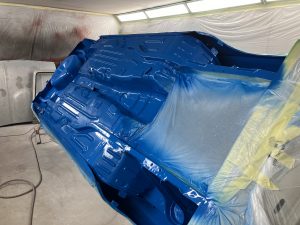
Filler work and prep complete time to apply the 2k primer


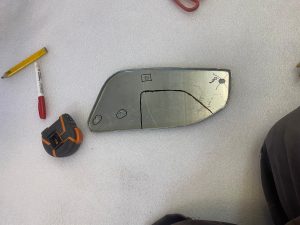
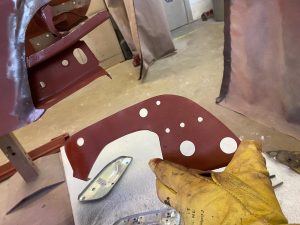
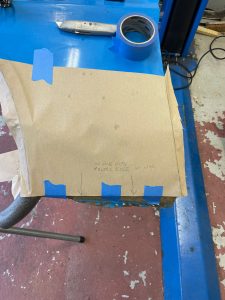
To assure everything goes back in the correct place and the holes drilled in the right places a template was taken from the original factory wings .
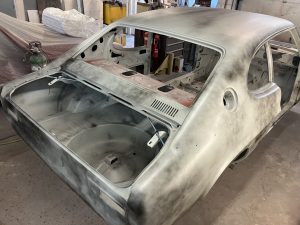
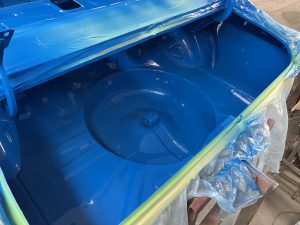
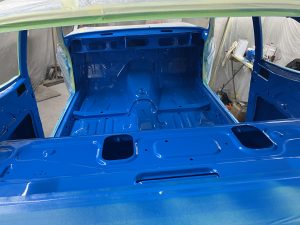
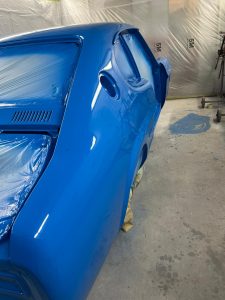
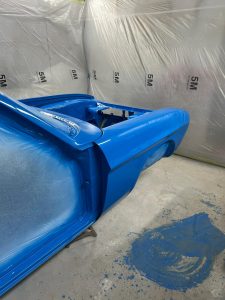
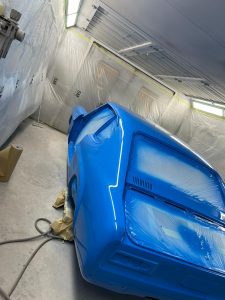
After two rounds of primer and a lot of blocking down by hand the shell is finally ready for some colour
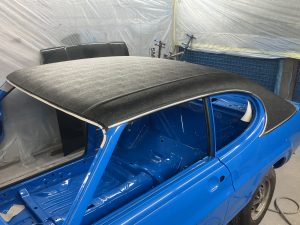
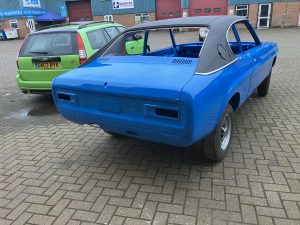
Wishing to refit the Capri himself the only request of the customer was for us to fit a new headlining and vinyl roof along with the suspension so as it could be safely transported and secured in the trailer.

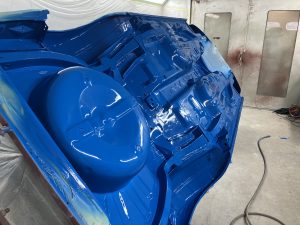
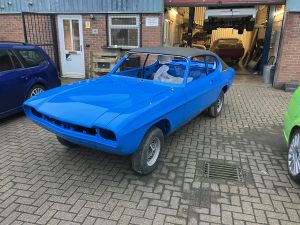
All finished in its original electric blue and shipped back to the owner to complete the refit .
WANT TO KNOW MORE?
We do regular updates on our facebook page
Just click like to make sure you stay in touch!
Contact Details
Projects